Product Description
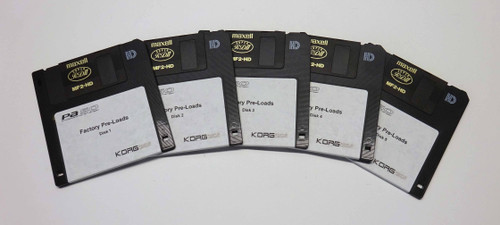
These are the disks to restore the factory sounds and OS to your PA1x and 1xPro. Follow these instructions to restore your keyboard.
1. Turn off the Pa1X.
2. Insert disk #1 and turn the instrument on.
3. Follow the instructions in the display. Insert all the following
disks as requested.
4. When the operation is completed, turn the instrument off,
then on again.
Hint:
Do not stop while updating the Operating System. If you
wait too long before inserting a disk, there will be a timeout error,
and the upgrade procedure will be interrupted. Should this happen,
please start again with disk #1.
Note:
After the above operation, you might need to re-calibrate the
TouchView display (Global > Touch Panel Calibration).
Note:
Before restoring the resources, save your older data, because
all data will be overwritten.
1. Insert the first floppy disk into your Pa1X’s floppy disk
drive.
2. Go to the Pa1X Disk > Utility page and select “Full
Resource Restore”, then press Execute. The source device
will appear.
3. From the Device pop-up menu, select “FD” as the source
device.
4. When the backup file (“.BKP” file) appears in the display,
select it and press the Restore command. A message will
appear, asking you to insert Disk #1. Press OK to confirm.
5. Wait until the first backup disk has been loaded. A message
will appear, asking you to insert the following disk. Insert
the second backup disk and press OK.
6. Repeat the same procedure with the following backup
disks. When the last backup disk has been loaded, the
backup data is restored into the internal memory, and Pa1X
will automatically go to the Style Play mode.
7. At the end of the Restore operation, turn the Pa1X off and
then on again.
Note:
After the above operation, you might need to re-calibrate the
TouchView display (Global > Touch Panel Calibration).
Any files on this disk are being provided free of charge and are readily available for download on the internet. We are charging only for the disk and labor involved in preparing the disk for your use.


